
Introduction
Do you know a GUI or graphical user interface was made to refine the user experience? Interacting with electronic devices, software, or applications was tough without a deeper understanding of command-line instructions. The drag-and-drop feature of GUI and extensive usage of icons, menus, and buttons makes it a better choice. A GUI is used in operating systems like Linux, web browsers, and mobile applications.
Ubuntu server is a type of Linux operating system. This operating system variant is open-source, meaning the source code is publicly available. Such open-source OS are easily customizable and offer better transparency.
This article will guide you on how to add a graphical user interface GUI to Ubuntu server, as well as how to update the repositories. We have provided step-by-step instructions on installing the GUI for your Ubuntu server and switching between different GUI options. Follow along to learn more.
Update Repositories and Packages
If you’ve ever been curious about the process of installing software on an Ubuntu server, you’ll be interested to know that the Ubuntu community has established a set of repositories that house the majority of the required and dependable software packages. These repositories are managed by Canonical, the developers of Ubuntu, and are essential to the Ubuntu server’s package management system.
It is crucial to ensure that your repositories and packages are in order before proceeding with adding a GUI to Ubuntu server. To achieve this, we recommend executing the following command to update your repositories.
sudo apt update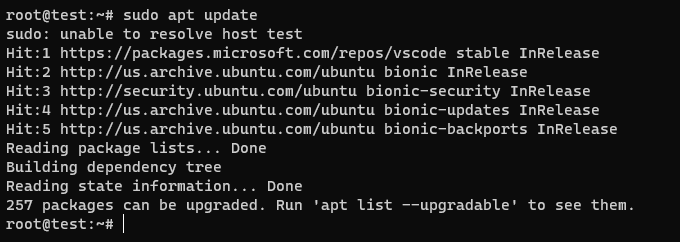
(This command will lead to an updated repository. Write another command to upgrade the package after this command.)
sudo apt upgrade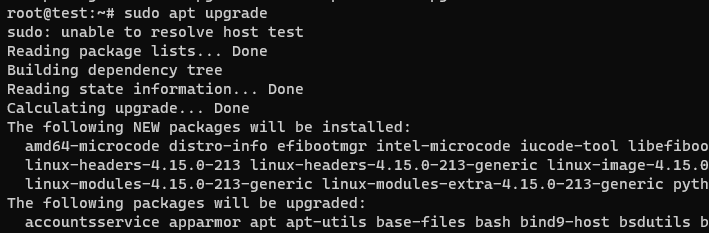
(This command will check if your package is upgraded; if not, the package will be upgraded to the latest level.)
Install and set up Display Manager
Once the repositories have been updated and the packages have been upgraded, it’s important to pay attention to the display manager. This component is crucial for logging into a desktop environment or window manager that employs a graphical user interface (GUI) on the Ubuntu server. In the case of the Ubuntu server, GNOME and LightDM are the default display managers.
To set up the display manager, you can utilize the package management system and input the command ‘apt.’ This will initiate the installation process and provide you with a user-friendly graphical login interface that will allow you to easily access your system. Now we will install the display manager of our choice through the following steps.
- Suppose we want to install the GNOME display manager; then the following command will come into action.
sudo apt install gdm3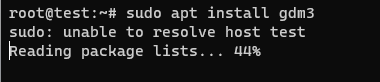
- If the choice for display manager is LightDM, then we will use the below command.
sudo apt install lightdm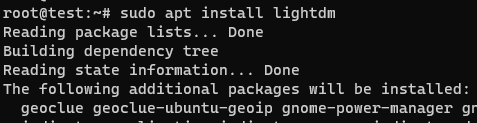
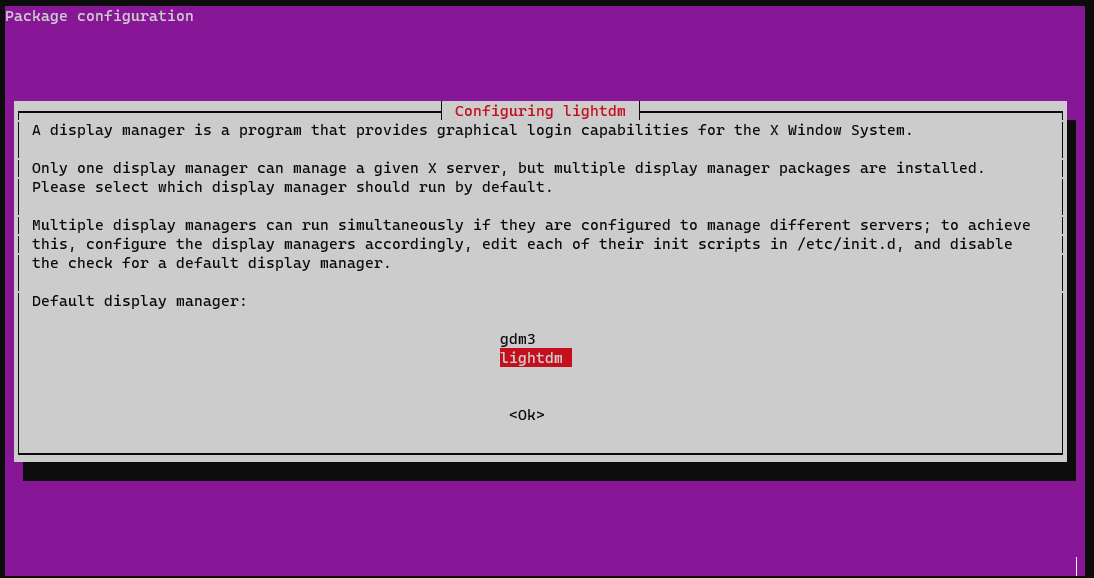
- After you write one of the commands related to the chosen display manager, you will be asked to choose the final name of the display manager. Ensure you have picked the correct one.
- When the installation process is done, you will have to reboot the system by writing the following command.
sudo reboot
- The system will automatically restart once the reboot is complete, and you will be presented with the graphical login interface. We will now move forward to add a GUI to the Ubuntu server.
Things to Keep in Mind While Installing GUI Ubuntu Server
To guarantee a smooth and optimal installation process of a Graphical User Interface (GUI) on your Ubuntu Server, you must keep in mind the following vital aspects. Failure to do so could result in unnecessary hiccups and suboptimal system performance. Take heed of the following crucial factors:
- Resource requirements
- Purpose of the server
- Network connectivity
- Package management
- Choose a GUI environment
- Back up important data
- Installation process
- Security considerations
- System performance
- Updates and maintenance
When setting up a server, careful consideration should be given to the necessity and potential benefits of a graphical user interface (GUI). It is recommended to evaluate your specific needs and weigh the advantages of having a GUI against the potential drawbacks. In some cases, a command-line interface may be sufficient and more efficient for managing the server. Ultimately, the decision should be based on the specific requirements and goals of your server setup.
Also Read: How to Format a Disk in Linux/Ubuntu OS?
Switching between GUI
To easily switch between different GUI environments on Ubuntu, just follow these simple steps:
- Install the GUI environment you want to switch to using a package manager like apt. Use the command: sudo apt install ubuntu-gnome-desktop (replace “ubuntu-gnome-desktop” with the appropriate package name for the GUI environment you want to install).

- After installation, simply log out of your current session by clicking on your username in the top-right corner of the screen and selecting “Log Out” or “Sign Out”.
- On the login screen, you’ll see a gear or settings icon next to the username field. Click on it to access the list of available desktop environments.
- From the list of available desktop environments, choose the one you want to switch to.
- After selecting the desired GUI environment, enter your username and password as usual and click “Log In” or “Sign In”.

Removing the GUI and Display Manager
To remove the GUI and display manager from your Ubuntu system, follow these simple steps with confidence:

1.
1. Press Ctrl+Alt+F3 (or any other function key from F1 to F6) to switch to a virtual console.
2. Enter your username and password to log in to the virtual console.
3. Before removing the GUI and display manager, you need to stop the display manager service. Use the command to stop the display manager that is appropriate for your installed display manager. Here are some examples:
– GNOME (GDM): sudo service gdm stop
– LightDM: sudo service lightdm stop
– SDDM: sudo service sddm stop
– XDM: sudo service xdm stop

4. Once the display manager is stopped, uninstall the GUI packages associated with your chosen environment with the appropriate command. Here are some examples:
– GNOME: sudo apt remove ubuntu-gnome-desktop
– KDE Plasma: sudo apt remove kubuntu-desktop
– Xfce: sudo apt remove xubuntu-desktop
– LXQt: sudo apt remove lubuntu-desktop
5. Make sure to replace the package names with the correct ones for your installed GUI environment.
6. Remove the display manager with the following command:
sudo apt remove <display-manager-package-name>
7. Don’t forget to replace <display-manager-package-name> with the package name of your display manager.
8. To remove any remaining unused dependencies, simply run the following command:
sudo apt autoremove
9. After removing the GUI and display manager, it’s highly recommended to reboot your system to ensure a fresh start without any residual processes or services.

Also Read: How to Check CPU Usage or Utilization in Linux/Ubuntu?
Conclusion
To enhance your experience with your Ubuntu server, consider adding a graphical user interface (GUI). This requires updating repositories and packages, installing a display manager, and selecting an appropriate GUI based on your specific requirements. It’s crucial to keep in mind various factors like resource usage, network connectivity, security, package management, and system performance when deciding to install a GUI. For a smooth and secure server operation, it’s essential to maintain backups of your important data and perform regular updates and maintenance.