Introduction
Many users these days are wondering whether to run Apache, PHP, and MySQL on Windows 10 systems. If this is your case too, then you have come up with the perfect place to be. In this guide, we will be providing straightforward instructions to let you know how to install Apache, PHP, and MySQL on Windows 10 system smoothly. To do so, you have the following two possible options –
- First, you can make use of ready-to-use packages such as WampServer, XAMPP, etc.
- Or, secondly, you can create your own completely functioning WAMP server (Manual Installation).
So, you must have understood that we will be moving towards explaining the installation of MySQL, Apache, and PHP servers on your Windows 10 PC manually. Keep a note that this tutorial is designed on Windows 10 Pro 64-bit. Moreover, the versions of the applications that we will install are –
- Apache 2.4.29
- MySQL 5.7.21
- PHP 7.2.3
It will be best if you go through the complete instructions first before executing them. Dive into the sections below and get all the insights!
Install MySQL on Windows 10 Pro 64-bit
Here are the instructions to follow for installing MySQL on Windows 10 Pro 64-bit –
- First of all, download the MySQL 5.7.21 installer.
- When the installer is downloaded, click on Run.
- Then, you need to select the License Agreement and click on the Next option.
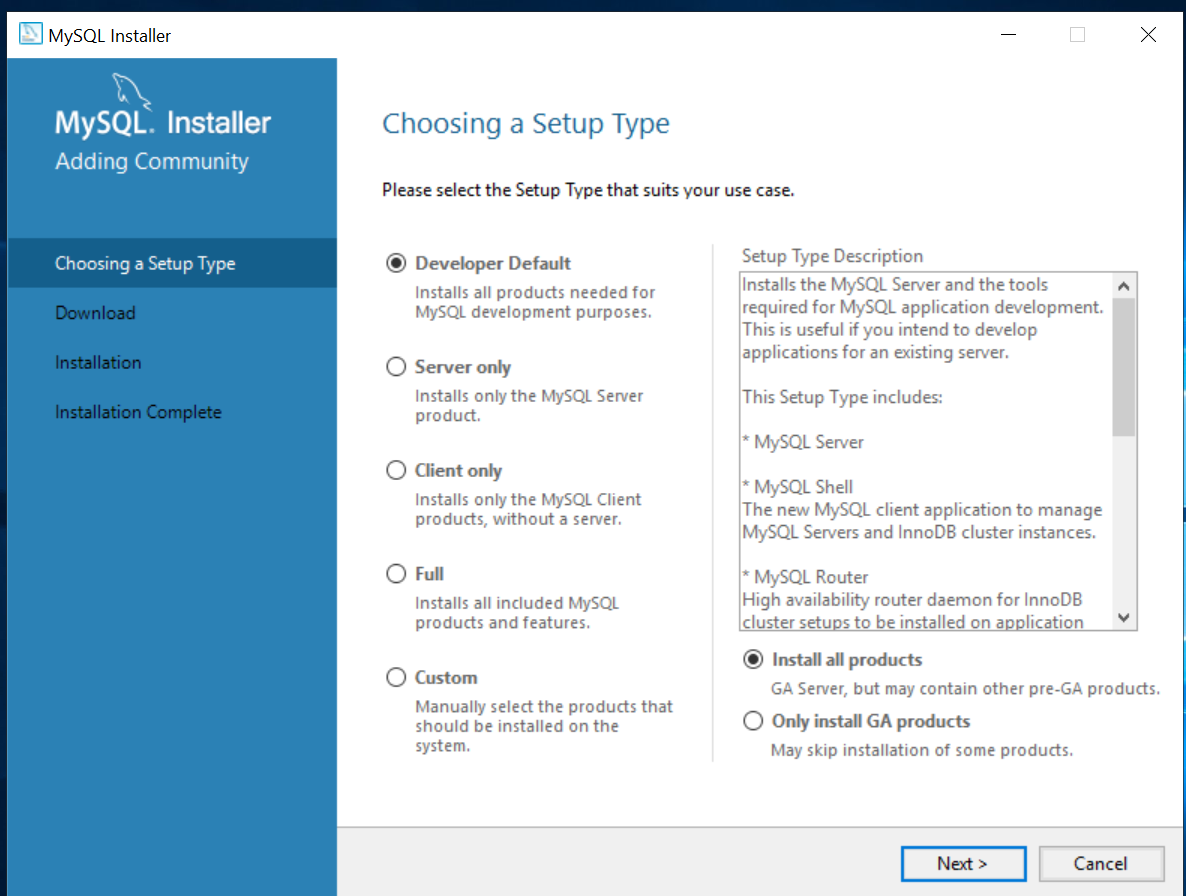
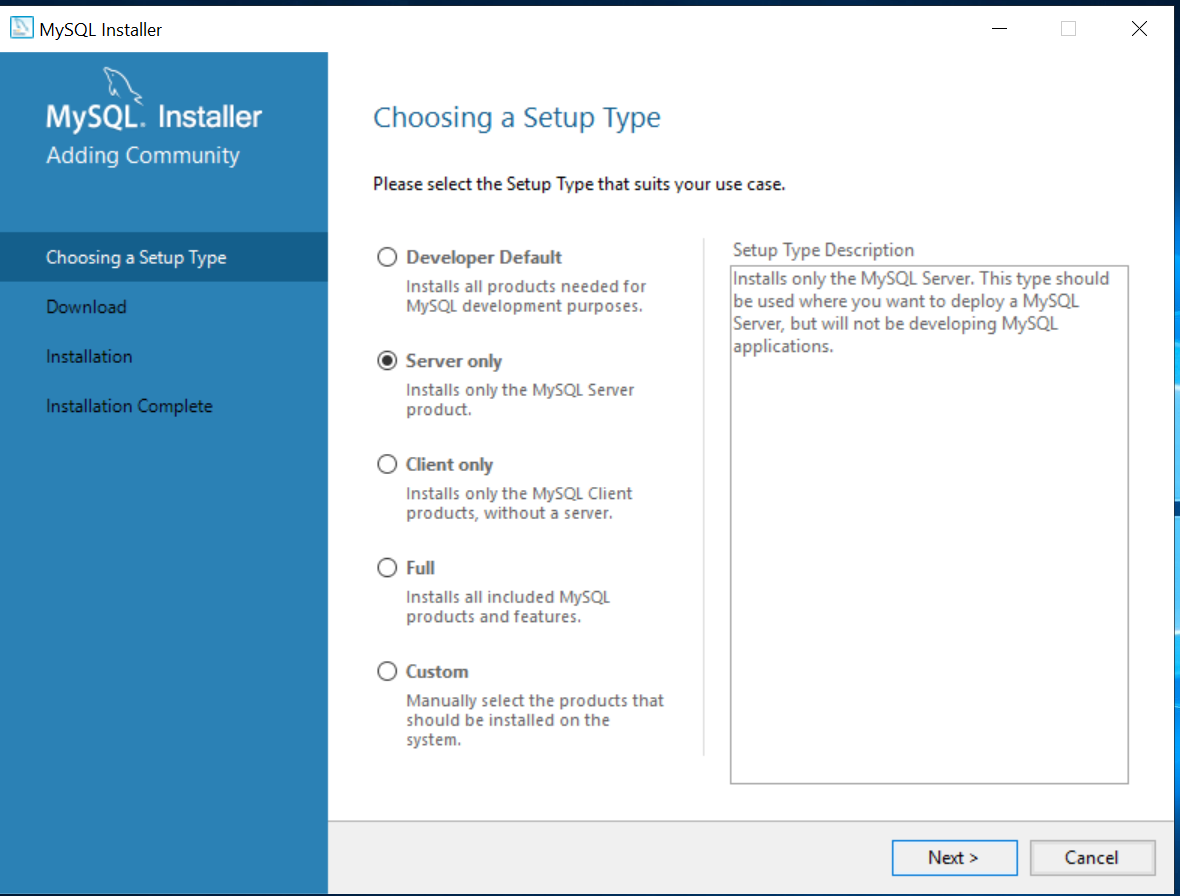
- Further, you need to select Server Only and then, again click on Next.
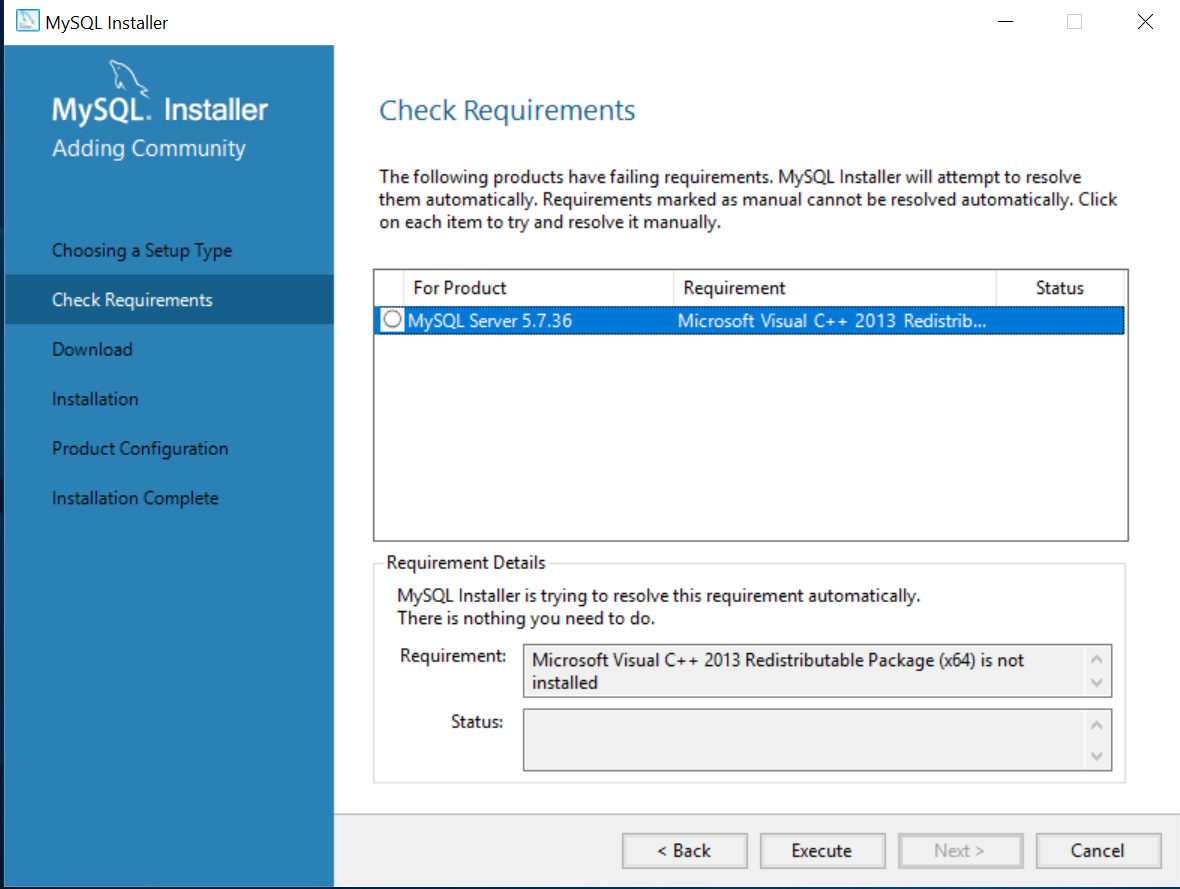
- In the next step, the system will prompt you to install Visual Studio 2013 on your system. You can click on the Execute button.
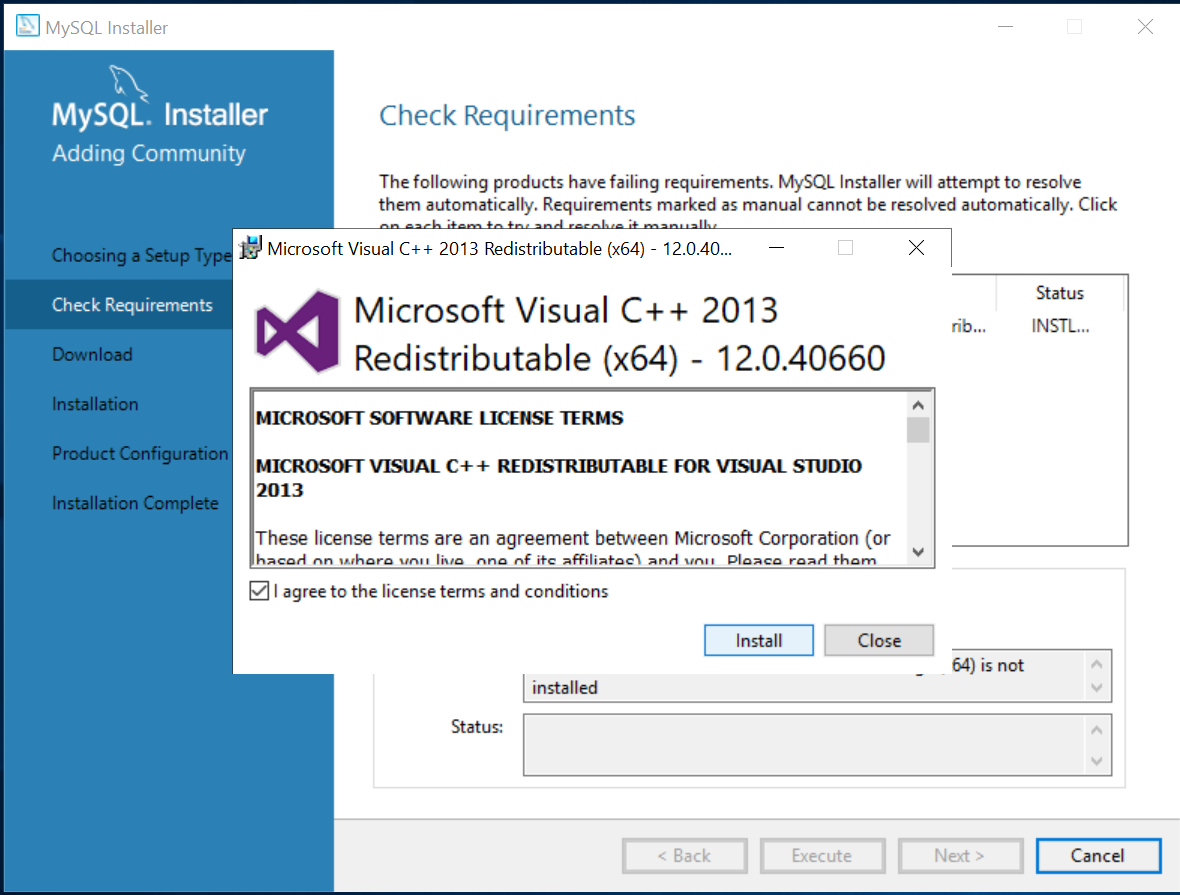
- Next, select the License agreement and click on Install.
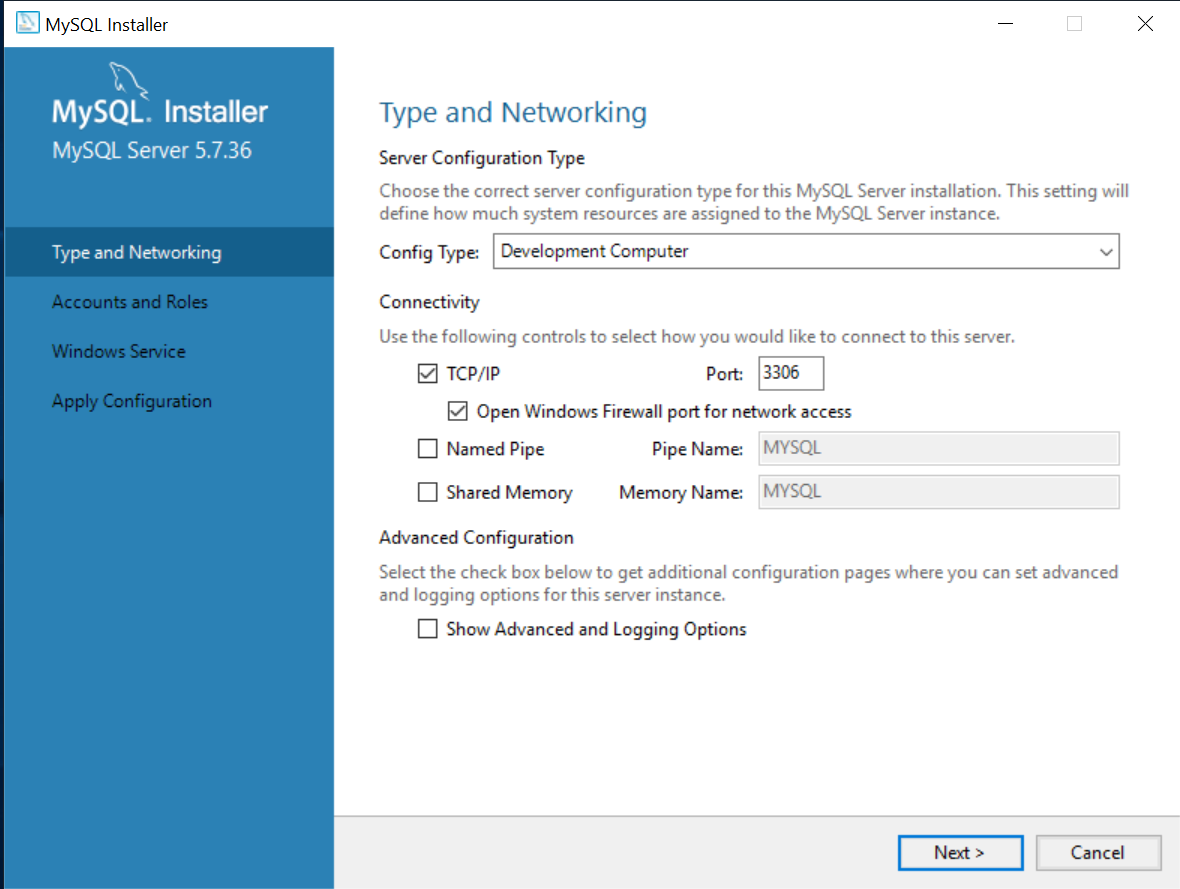
- Then, the steps will be clicking on the options as Close>Next>Execute>Next>Next.
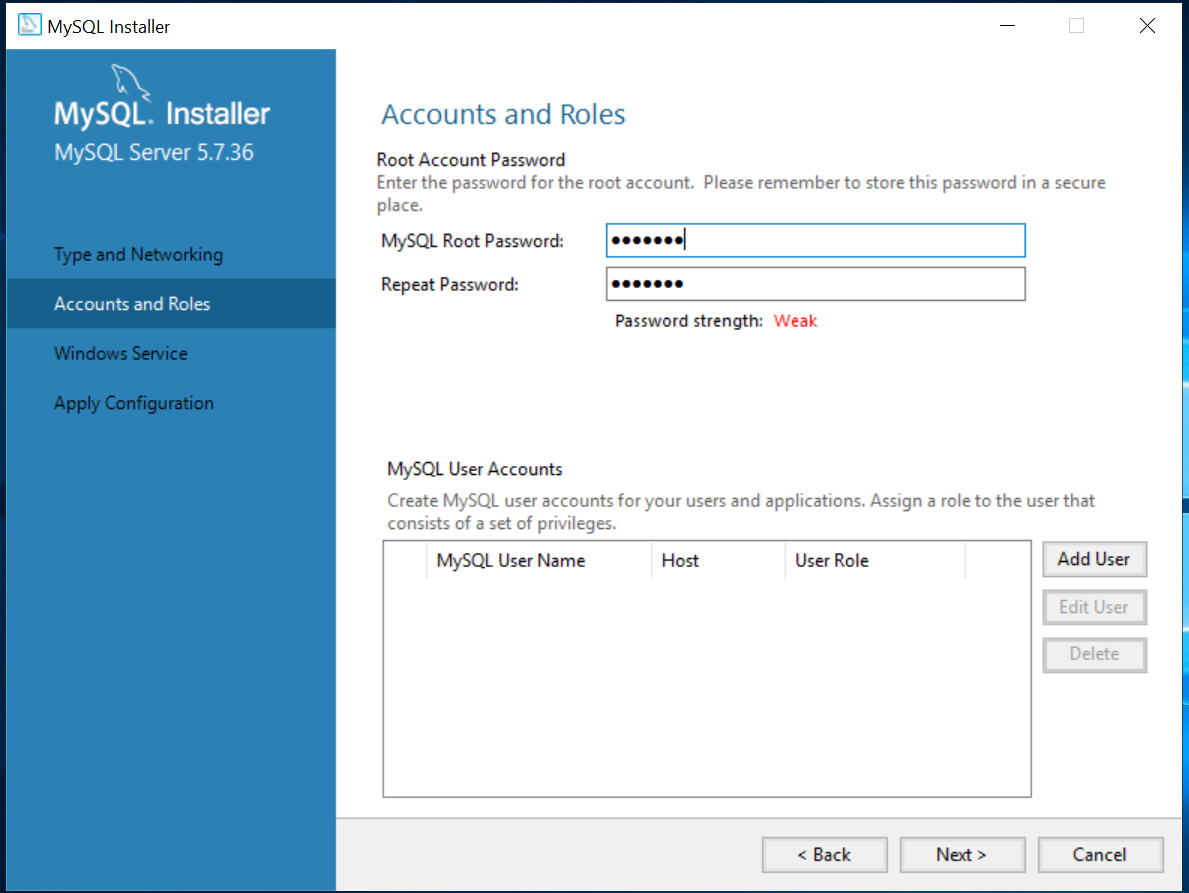
- After this, you will be prompted to enter the root user password. You can then confirm the password and click on Next.
- At last, you need to click on the options as Next> Next> Finish.
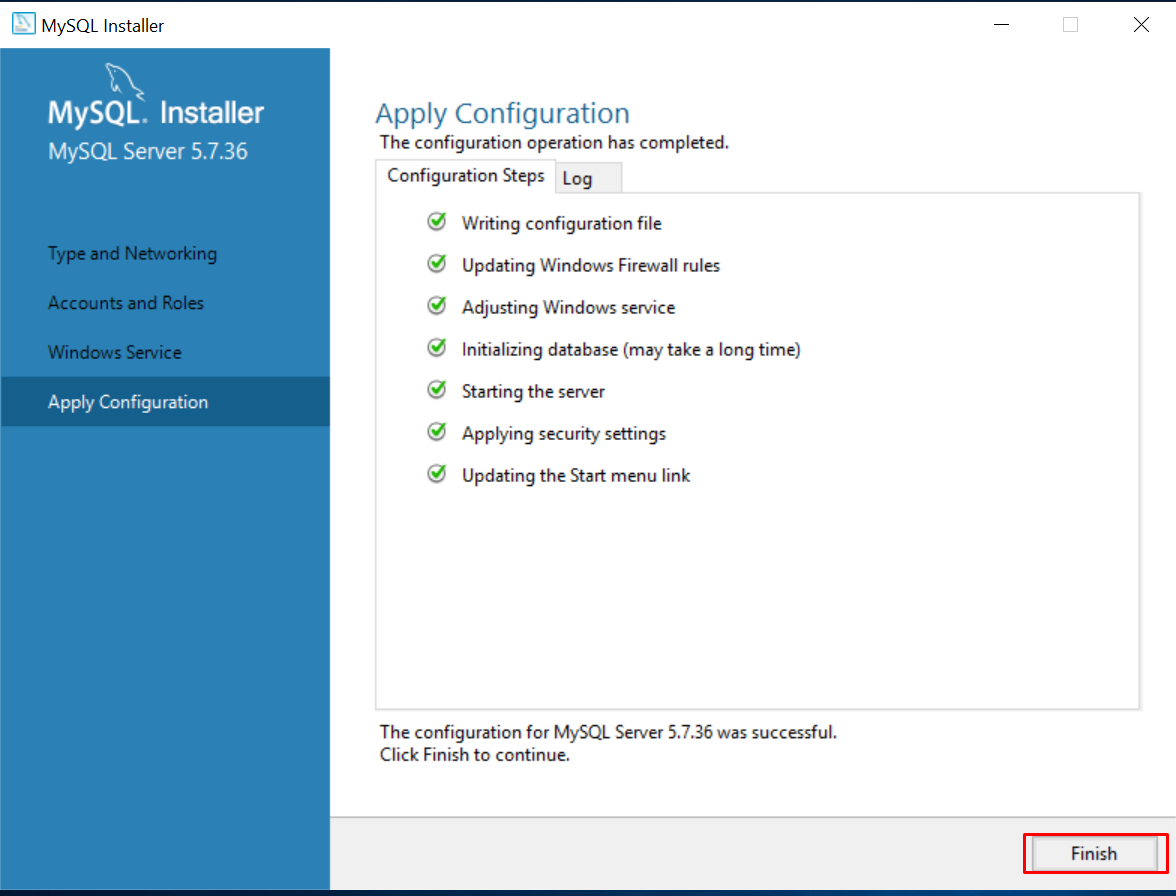
After getting done with these steps, your MySQL database server will be ready to use. You can further make use of any MySQL client software to manage your database, such as Heidi SQL, SQL YOG, etc.
Install Apache 2.4 on Windows 10 Pro 64-bit
Follow the steps below for installing Apache on Windows 10 Pro 64-bit –
- First of all, you need to install the latest C++ Redistributable Visual Studio 2017.
- Then, you have to download Apache files and unzip them (archive httpd-2.4.25-win64-VC14.zip) to the C:\Apache24\ directory.

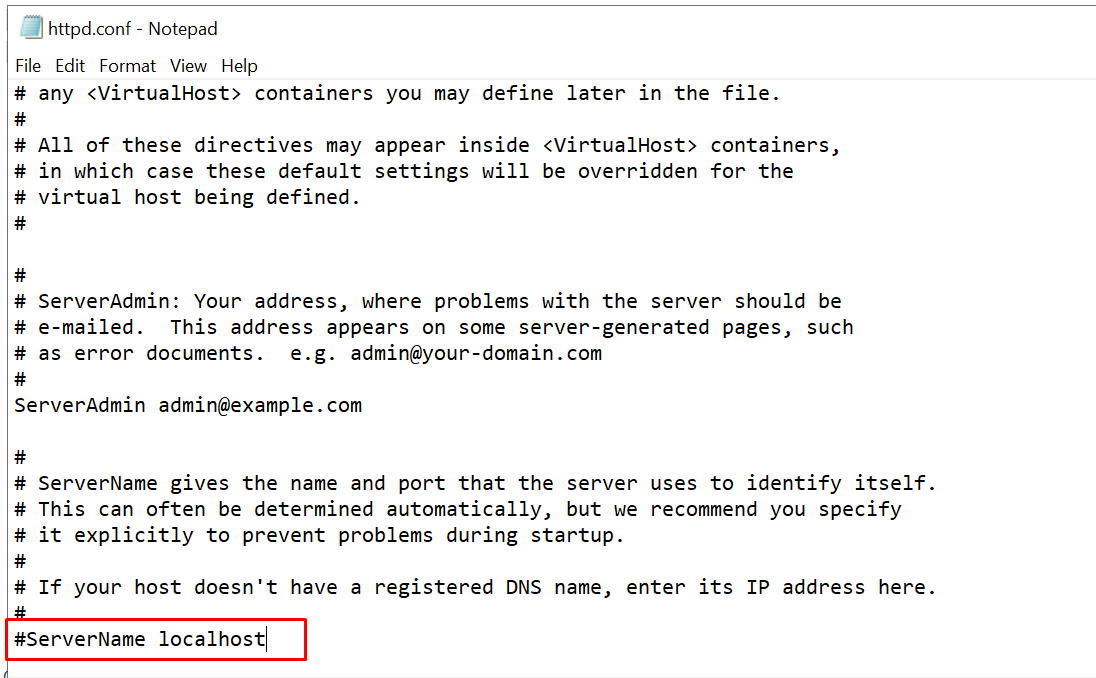
- Once you unzip them, you can go to the folder c:\Apache24\conf\ and open the httpd.conf file through any text editor.
- Now, you have to modify the below line in this file –
#ServerName www.example.com:80
ServerName localhost
# AllowOverride controls what directives may be placed in .htaccess files.
# It can be “All”, “None”, or any combination of the keywords:
# AllowOverride FileInfo AuthConfig Limit
AllowOverride None
# AllowOverride controls what directives may be placed in .htaccess files.
# It can be “All”, “None”, or any combination of the keywords.
# AllowOverride FileInfo AuthConfig Limit
AllowOverride All
#LoadModule rewrite_module modules/mod_rewrite.so
LoadModule rewrite_module modules/mod_rewrite.so
- Then, you need to register for Apache service.
At last, your Apache will be installed on your Windows system successfully. You can further make modifications to the index page code or upload your files.
Also Read: How to Enable or Install Telnet on Windows 10 or 11?
Install PHP on Windows10
Mentioned below are the steps to install PHP 7.2.3 on your Windows 10 Pro 64-bit –
- Firstly, you need to download the PHP package PHP-7.1.1RC1-Win32-VC14-x64.zip and unzip it under C:\php72.
- Then, you need to rename php-ini-development.ini to php.ini.
- Further, you have to add PHP in a system environment variable.
C:\>setx path “%PATH%, C:\php72” /M
- Next, you need to open the file c:\Apache24\conf\httpd.conf again and append it with lines –
PHPIniDir “C:/PHP72”
- AddHandler application/x-httpd-php .php
LoadModule php7_module “C:/PHP72/php7apache2_4.dll”
- At last, you have to restart Apache services.
After having done all these steps, you will be able to access your PHP page from the default Apache document root.
Also Read: How To Remove or Delete MySQL User or Database Account?
Summing Up
Going through this guide thoroughly can help one learn how to install Apache, PHP, and MySQL on Windows 10 system perfectly. Moreover, you can always connect to the Serverwala experts in case you face any issues during the installation process via various communication channels.